
Sash windows look beautiful, but they are famous for one thing: cold draughts. If your curtains move on a still evening, your windows are leaking warm air. The good news is that you can fix most of the problem yourself in a weekend, without replacing the windows.
In short: To draught proof sash windows, fit brush pile strips into the sash channels, seal gaps around the frame with silicone or foam, and add secondary glazing for the worst windows. Clean the sashes first and check the cords and pulleys still move freely. Most DIY methods cost under £30 per window and take an afternoon.
Where does the air actually leak? A sash window leak map
Learn the anatomy first. Air leaks in the same few places on almost every sash window:
- Staff bead: the inner trim holding the lower sash. It loosens with age.
- Parting bead: the slim strip between the two sashes.
- Meeting rail: where the top and bottom sashes meet in the middle.
- Sash pockets and pulley holes: small openings around the cord pulleys.
- Sill and frame joints: where the box frame meets the wall.
Check each spot on a windy day before you buy anything.
Why do sash windows get so draughty?
Traditional sash windows slide inside a timber box frame. The sashes need a small gap to move. Over time, that gap grows. Timber shrinks in dry weather and swells when damp. Paint builds up, putty cracks, and old seals perish. The result is a steady leak of warm air around the meeting rails and the edges of each sash.
Gaps also open up where the frame meets the wall. Even a 2mm gap along the full height of a window can feel like a small open vent.
How much does it cost to draught proof sash windows?
DIY draught proofing is one of the cheapest energy upgrades you can do. Typical material costs per window are:
- Self-adhesive foam strips: around £5 to £10
- Brush pile strips (the best all-rounder): around £15 to £30 for a brush pile draught proofing kit
- Silicone sealant: around £5 to £8 per tube, enough for several windows
- DIY magnetic secondary glazing kit: around £50 to £150
| Option | Typical cost per window | Best for |
|---|---|---|
| DIY seals and silicone | £15 to £40 | Sound windows |
| DIY plus secondary glazing kit | £60 to £190 | Noise and renters |
| Professional draught proofing | £400 to £700 plus VAT | Routed-in finish |
These are typical ranges and prices vary by region, window size and condition. London usually costs more.
Which DIY methods actually work?
Brush pile strips (the best all-rounder)
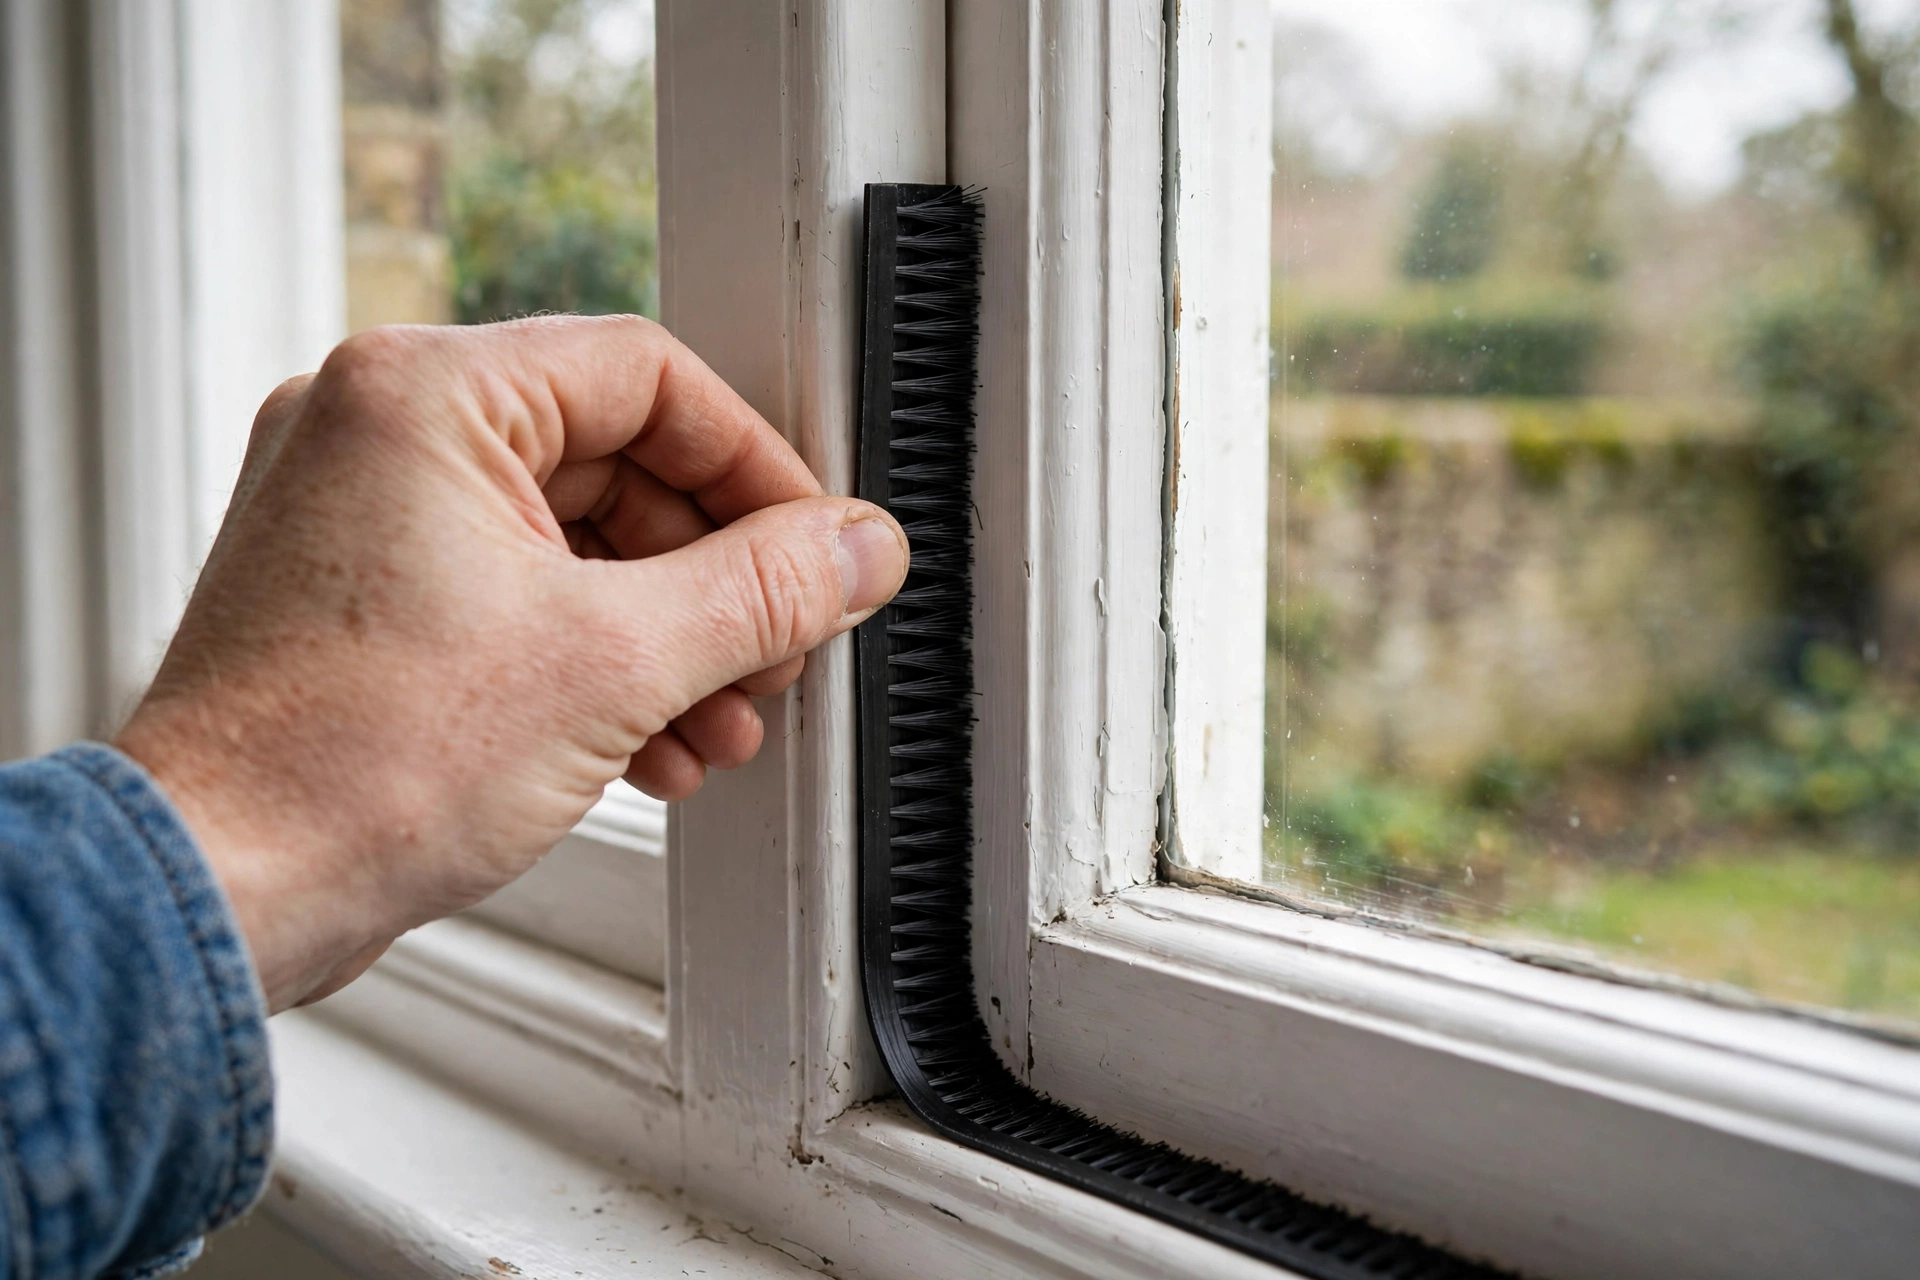
Brush pile strips are thin carriers with fine nylon bristles. They press gently against the moving sash and block air without stopping the window from sliding. This is the method professionals use, and DIY kits are widely available. Stick-on brush pile works for the meeting rails and outer edges. For a neater, longer-lasting result, choose a kit that slots into the staff bead and parting bead channels.
Self-adhesive foam seals (the quick fix)
Foam tape is cheap and easy. Press it onto the frame where the closed sash sits and it compresses to fill uneven gaps. It works well, but it can flatten over time and may need replacing every couple of years.
Silicone sealant (for gaps that never move)
Use silicone only on fixed joints: where the frame meets the wall, and along cracked internal joints. Never seal the moving parts of the sash. Once painted over, a neat silicone line is almost invisible.
Secondary glazing (the biggest upgrade)
Secondary glazing adds a discreet second pane inside the existing window. It cuts draughts and noise far more than seals alone. DIY magnetic kits are affordable and removable, which makes them ideal for renters and listed buildings. Professionally fitted aluminium secondary glazing costs more but looks smarter and lasts for decades.
What you need: tools and materials checklist
Find everything you need at Screwfix, Toolstation, Mighton or Reddiseals.
Materials: brush pile strips (Schlegel Aquamac 21 type or similar), self-adhesive V-strip or foam tape, neutral-cure silicone sealant, flexible wood filler.
Tools: tape measure, utility knife, sharp chisel, masking tape, incense stick or tissue strip, cleaning cloths and sugar soap.
How to draught proof sash windows step by step
- Inspect every window. On a windy day, hold a lit incense stick or a strip of tissue near the edges of each sash. Watch where it flickers. Mark the worst gaps with masking tape.
- Clean the sashes and channels. Dirt and flaking paint stop seals from sticking. Clean your window glass and frames properly first, then let everything dry fully.
- Fit brush pile to the beads. Ease the staff beads off carefully with a chisel, fit the brush pile carrier into the channel, and refix the beads. Do the same for the parting beads between the two sashes.
- Seal the meeting rails. Apply stick-on brush pile or foam where the top and bottom sashes meet in the middle. Close the window and check the seal compresses evenly.
- Seal the frame perimeter. Run silicone along the joint between the box frame and the wall, inside and out where accessible. Fill cracked internal joints with flexible filler.
- Test the movement. Open and close each sash. It should slide smoothly with gentle resistance. If it sticks, trim or reposition the seal rather than forcing it.
- Consider secondary glazing for the worst rooms. Bedrooms and street-facing rooms benefit most. Fit it after the seals so you can judge how much difference the seals alone made.
How to fix rattling sash windows
Rattling and draughts are the same problem. A rattle means the sash sits loose in an oversized gap. Brush pile strips hold the sash snug, so the rattle usually stops too. If it persists, check for broken sash cords or worn pulleys and fix those first.
What about listed buildings and conservation areas?
If your home is listed, you will usually need listed building consent before making changes to the windows. Like-for-like repairs, such as replacing perished seals, are normally fine. Routing new channels into original timber can be a grey area, so check first.
Secondary glazing is often the safest option for listed buildings because it is reversible and does not alter the original window. In conservation areas, replacing timber sashes with uPVC is usually refused, which makes draught proofing the originals even more worthwhile.
Like-for-like draught proofing, such as replacing perished seals with an equivalent product, is usually treated as repair and does not need consent. Routing new channels into historic timber is more likely to need it. Rules differ between councils, so check with your local conservation officer before you start.
Mistakes to avoid
Draught proofing is simple, but a few mistakes cause real problems:
- Sealing ventilation shut. Homes need background ventilation to stay healthy. Never block trickle vents or air bricks. Sealing too tightly traps moisture, which causes condensation and black mould on the timber. If condensation appears after draught proofing, you have sealed too tightly. Read our ventilation ideas guide to keep air moving safely.
- Painting seals shut. Paint over brush pile and it stops working. Mask seals before decorating.
- Using the wrong sealant on moving parts. Silicone on a sliding sash will glue it shut or tear. Use brush pile or foam where parts move.
- Ignoring rotten timber. Seals cannot fix a rotten sill. Repair or splice new timber first, then draught proof.
Maintenance schedule: making it last
- Each autumn: vacuum brush pile with a soft brush and check foam seals still spring back.
- Every two to three years: replace flattened foam tape and touch up cracked sealant.
- When decorating: mask seals before painting. Never paint brush pile shut.
DIY vs professional vs replacement: an honest guide
DIY is enough when the timber is sound, the sashes slide and the gaps are even. Most windows fall into this group.
Call a professional when sills are rotten, sash cords are broken, sashes are out of square, or the building is listed and you are unsure what is allowed.
Consider replacement only when the timber is beyond economic repair. Even then, like-for-like timber sashes suit a period home far better than uPVC.
Frequently asked questions
Can you draught proof sash windows without removing the sashes?
Yes. Stick-on brush pile and foam seals fit with the sashes in place. You only need to remove beads if you want the routed-in, professional style finish.
Will draught proofing stop my windows rattling?
In most cases, yes. Rattling comes from loose sashes moving in oversized gaps. Brush pile holds the sash snug, and the rattle usually disappears.
Does draught proofing cause condensation?
It can, if you seal every gap and block ventilation. Moisture from cooking, bathing and breathing has to go somewhere. Keep trickle vents open and ventilate bathrooms and kitchens as normal.
How long do brush pile strips last?
Good quality brush pile typically lasts many years. Foam tape wears faster and may need replacing every two to three years. Check seals each autumn before the heating season.
Can I draught proof sash windows in a rented home?
Yes. Use removable options such as self-adhesive foam, stick-on brush pile and magnetic secondary glazing. They leave no permanent marks when removed carefully. Check your tenancy agreement first if it restricts alterations.
Is secondary glazing better than double glazing for sash windows?
For period homes, often yes. Secondary glazing keeps the original timber sashes, which suits listed buildings and conservation areas. Well-fitted secondary glazing performs close to standard double glazing for both heat and noise.
Final thoughts
Draught proofing sash windows is one of the highest value DIY jobs in a period home. For the cost of a takeaway per window, you can cut cold draughts, stop rattles and make every room more comfortable. Start with the worst windows, use brush pile where sashes move and silicone where they do not, and keep ventilation working. Your home will feel warmer from the first evening.