How to Make a Scented Candle Last Longer
Quick answer: A scented candle lasts longest when you give it a full first burn, trim the wick to about 5mm before every burn, keep each burn to three or four hours, and store it cool, dry and upright with the lid on. The first burn matters most: let the whole surface melt to the edges, which takes roughly one hour for every inch of the candle’s diameter. After that, short sessions and a trimmed wick stop the two things that waste a candle fastest, tunnelling and soot, and proper storage stops the scent fading between burns. Follow the routine below and a candle that used to last three weeks can easily last five or six.
Most scented candles do not burn out because they are poor quality. They burn out because they are used in the way that wastes wax fastest: lit for twenty minutes at a time, burned with a long untrimmed wick, left going all evening, and stored open on a sunny windowsill. Each of those habits is easy to fix, and none of them costs anything. This guide works through the care routine in the order it happens, from the first burn to the last centimetre of wax, with the numbers that matter and the mistakes that undo the rest.
Why Candles Burn Out Too Fast
A candle wastes wax in three ways, and each one has a different cause. Knowing which one is eating your candle tells you which part of the routine to fix first.
Tunnelling is the biggest waste. The candle burns a narrow hole down the middle and leaves a ring of unmelted wax stuck to the glass. That wax is paid for and never burned, and the tunnel gets worse with every short burn, because wax has a memory: it melts to the same width it reached last time. A badly tunnelled candle can waste a third of its wax or more.
Soot and mushrooming is the second waste. A wick that is too long burns with a tall, flickering flame. It burns hotter, it burns faster, it throws soot onto the glass and sometimes onto the wall behind it, and the wick tip curls into a mushroom shape that makes the flame worse. A long wick can cut hours off a candle’s life.
Evaporation and scent loss is the third waste, and the quietest. A candle stored without a lid, in a warm room or in sunlight, loses fragrance from the surface wax even when it is not lit. By the time you light it, the top layer smells of very little, and you burn through it quickly trying to reach the scented wax underneath.
The routine in this guide tackles all three, in the order they happen. It takes about a minute per burn, plus one long first burn, and it works on soy, paraffin and beeswax candles alike.
The First Burn Sets the Candle’s Life
The first burn is the single most important burn a candle will ever have, and it is the one most people get wrong. Wax has a memory. On the first burn, the wax melts out to the width of the melt pool, and on every burn after that, it will melt to roughly that same width again. If the first burn is short and the melt pool only reaches halfway to the edges, the candle will tunnel from that day on, and no amount of careful burning afterwards will fully undo it.
So the rule for the first burn is simple: let the whole surface melt, right out to the edges of the container, before you put the candle out. For most candles this takes about two to four hours, and the working rule is roughly one hour for every inch of the candle’s diameter. A small candle about two inches across needs about two hours. A standard three-inch candle needs about three hours. A wide four-inch candle may need four hours or a little more.
Do not leave a candle burning unattended while you wait for that first full melt pool, and do not put it out early because it looks done. If the edges are still solid, it is not done. Plan the first burn for an evening when you will be in the room for a few hours, and let the candle finish its job.
One caution for the first burn: never burn a candle for longer than four hours in a single session, even on the first burn. If a very wide candle has not reached the edges within four hours, put it out, let it cool completely, and finish the job on the next burn. A candle that is burned too long in one go overheats the glass, soots heavily and wastes wax just as surely as a short burn does. The four-hour limit is a safety rule as well as a care rule, and it applies to every burn, not just the first.
If a candle you already own has started tunnelling because its first burn was too short, the care routine below will stop it getting worse, and our guide to candle tunnelling sets out the fix ladder, from a longer burn to the foil tent method, for candles that need rescuing.
Trim the Wick to 5mm, Every Time
Wick trimming is the cheapest habit in candle care and the one that makes the most visible difference. Before every burn, trim the wick to about 5mm, roughly a quarter of an inch. A wick trimmer does this neatly and catches the cut piece, but a pair of small scissors or nail clippers works just as well if you tip the candle and catch the trimming before it falls into the wax.
A long wick is the cause of most soot, most mushrooming and much of the fast burning people complain about. The flame is taller, it flickers more, it pulls wax up faster than the melt pool can manage, and the wick tip curls into a mushroom of carbon that makes the flame taller still. The candle burns hotter and faster, the glass blackens, and in a draught the flame can smoke badly. Trimming the wick before every burn keeps the flame short, steady and clean, and a steady flame uses wax at the rate the maker intended.
Trim the wick when the wax is cold and solid, before you light it, never while it is burning. If the wick has mushroomed during a previous burn, trim the whole mushroomed tip away rather than just the top of it. If a piece of trimming falls into the melt pool, fish it out with a cocktail stick once the wax has set, or while the wax is still liquid if you can do it safely. Debris in the melt pool is a fire risk and a soot risk, and it belongs in the bin, not in the candle.
There is one more wick habit worth building: while the wax is still liquid at the end of a burn, use a cocktail stick or a wick dipper to nudge the wick back to the centre if it has drifted to one side. A centred wick melts the wax evenly and keeps the burn level. A wick that leans against the glass will melt one side faster, heat the glass unevenly and waste wax on that side.
Session Length: The 3 to 4 Hour Window
A candle burn has a sweet spot. Too short, and the melt pool never reaches the edges, which feeds tunnelling. Too long, and the wax overheats, the flame grows, soot increases and the glass gets dangerously hot. The window that avoids both problems is two to four hours per burn, and never more than four.
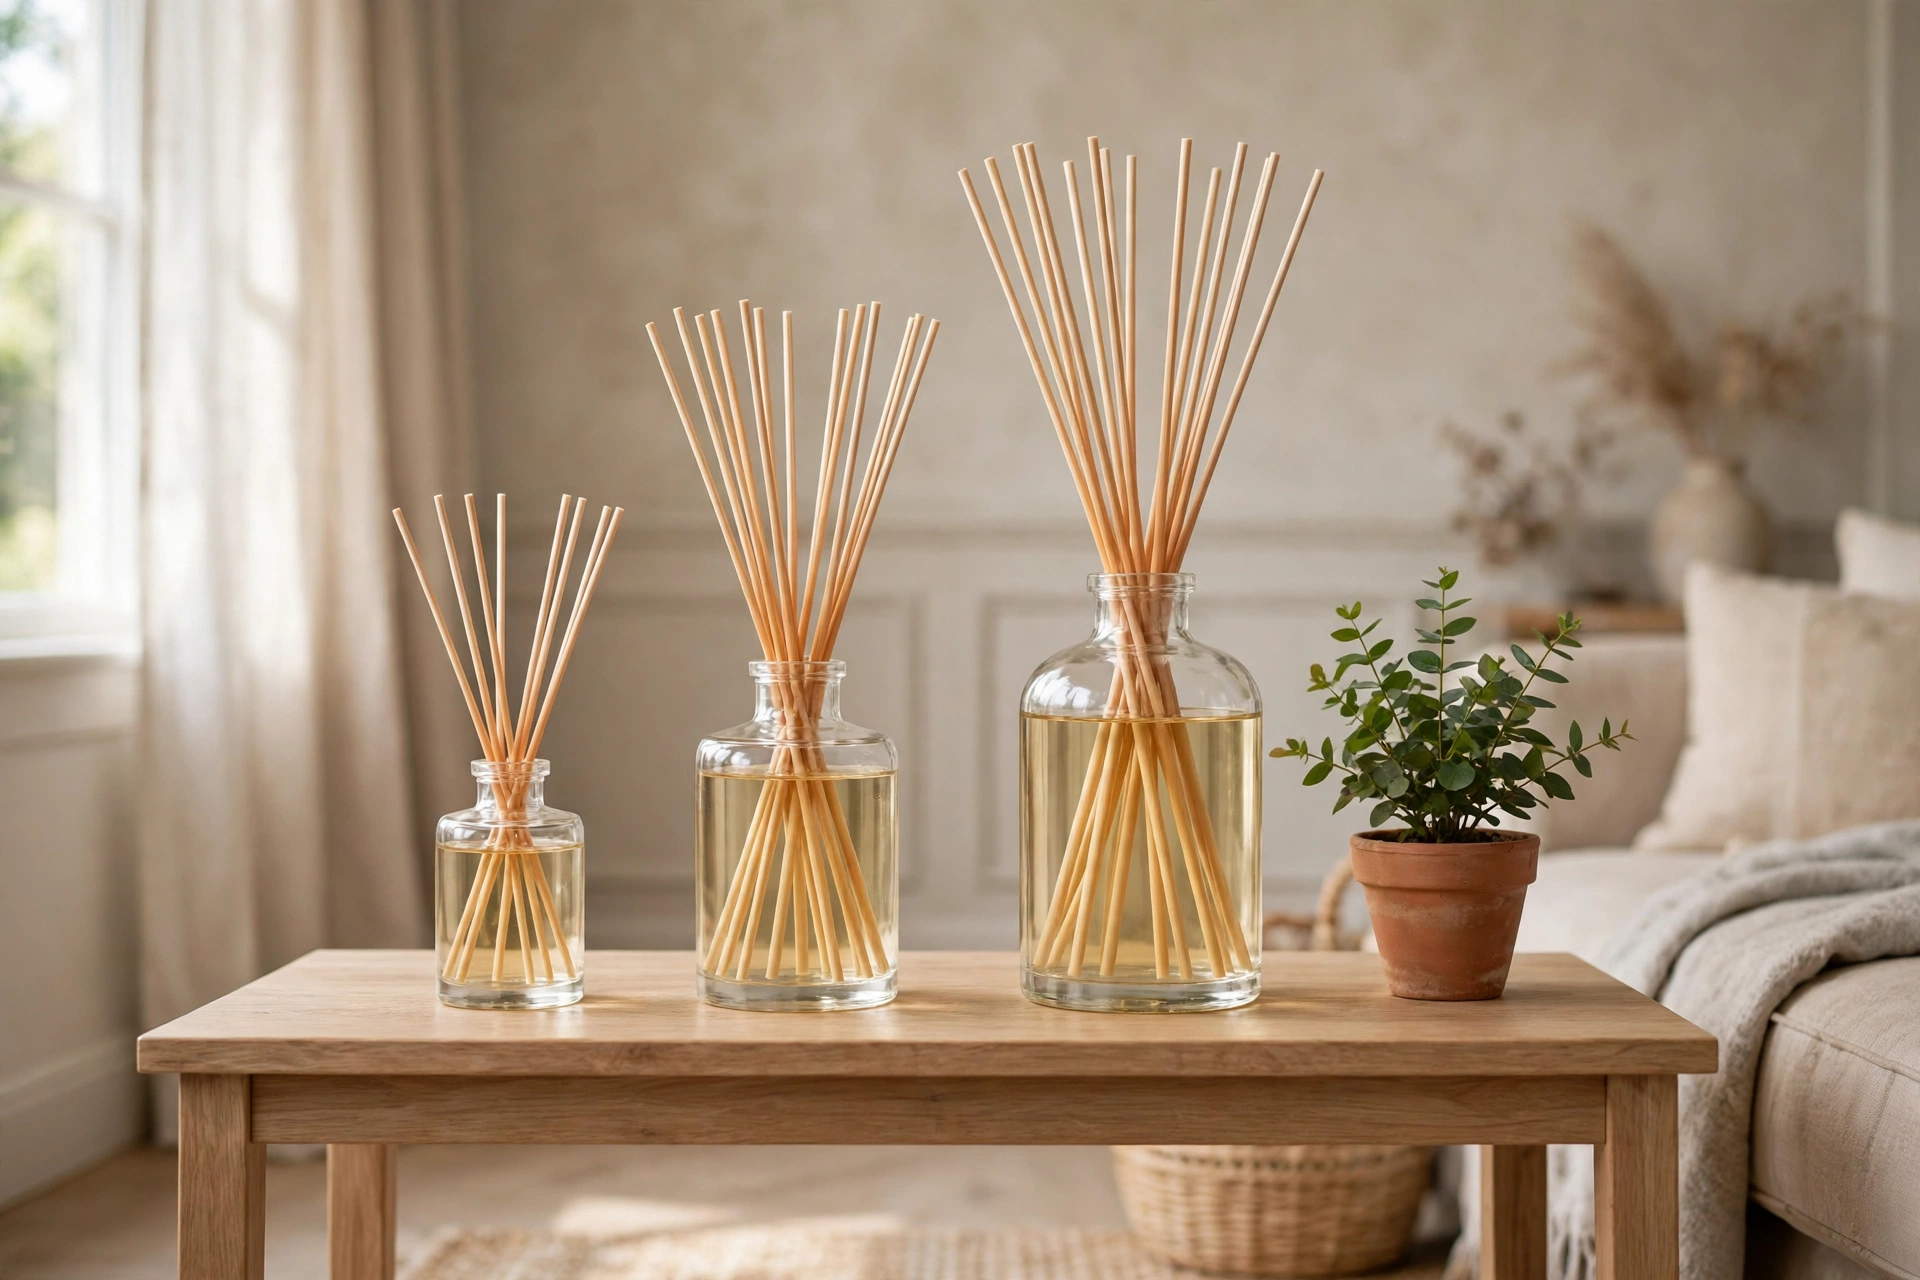
Short burns are the most common cause of tunnelling in everyday use. Lighting a candle for twenty minutes while you have a bath, then putting it out, leaves a shallow melt pool that never reaches the edges. Do that a few times and the tunnel is set. If you only have half an hour, a reed diffuser or a room spray is a better choice for that moment than a candle, because a candle needs time to do its work properly. Our guide to the best reed diffusers for UK homes and flats sets out which rooms suit a diffuser instead, and a diffuser scents a room continuously with no burn time to manage at all.
Long burns are the other half of the problem. After about four hours the melt pool gets very hot, the flame grows taller, and the wax is consumed faster than the fragrance can keep up, which is why a candle that has been burning all evening often smells weaker at the end than it did at the start. The glass can also become hot enough to crack or to damage the surface underneath it. Put the candle out after four hours at the most, let it cool completely, and relight it later if you want more scent.
The practical rule is: light the candle when you have at least an hour to enjoy it, and put it out before four hours have passed. Within that window, longer is better for the melt pool and better for the scent, because the fragrance throw builds as the melt pool grows and warms. A candle burned for three hours will smell stronger and last longer overall than the same candle burned in six half-hour sessions.
Keep the Melt Pool Clean
A clean melt pool burns better and smells better than a dirty one. Two things spoil a melt pool: debris and a wick that has wandered off centre.
Debris means anything that falls into the wax: a piece of trimmed wick, a match head, a bit of dust, a dried flower or a piece of decoration from the top of the candle. It catches fire, it smokes, it makes the flame uneven and it can set the surface wax alight in a way the maker never intended. Never drop anything into a candle deliberately, and pick out anything that lands in the wax as soon as you safely can. Keep the candle covered when it is not in use, which also keeps dust out, and keep it away from anywhere things fall onto it, such as a shelf under a plant or a windowsill where leaves land.
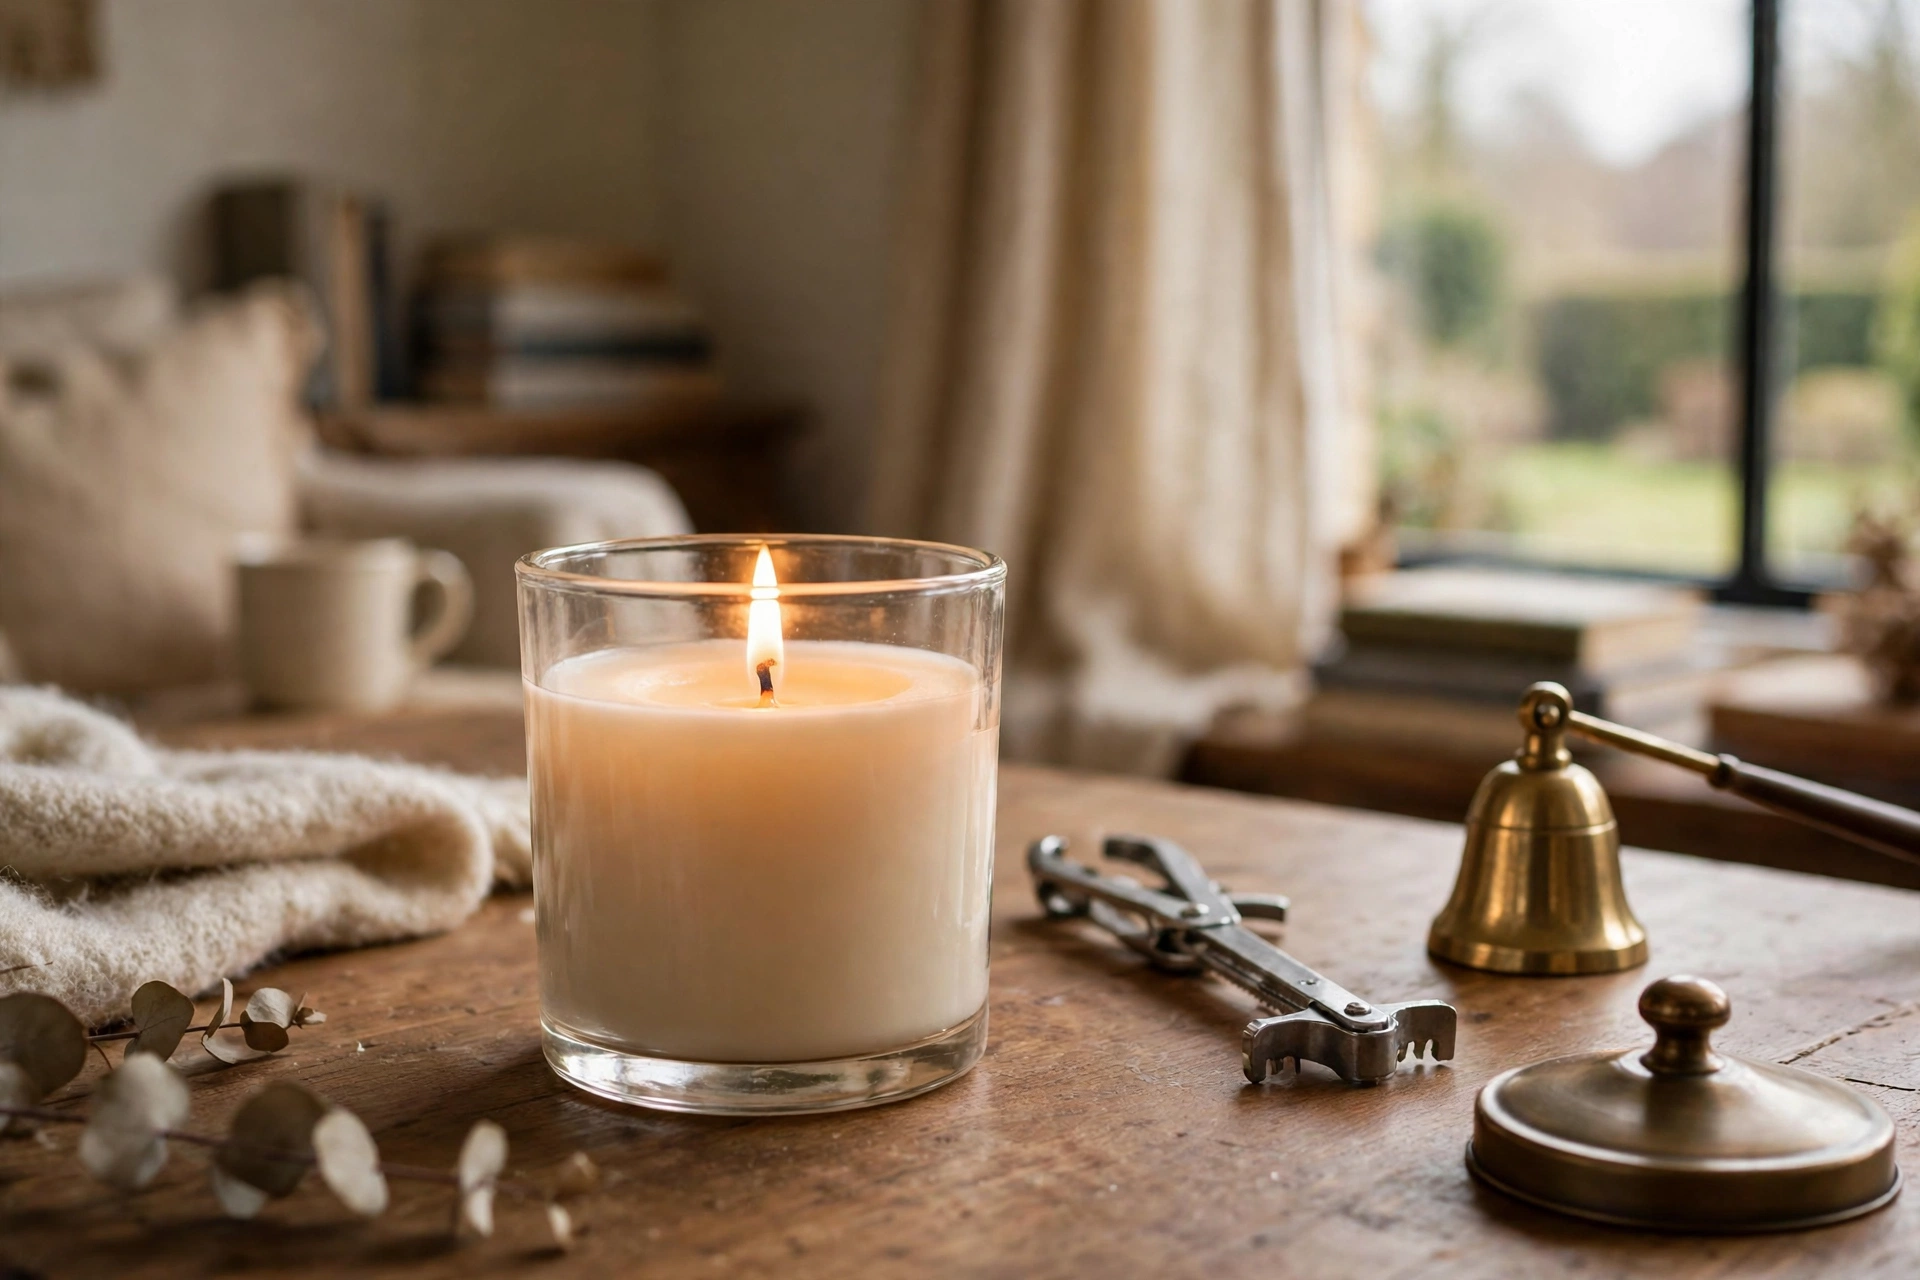
Putting the candle out properly matters here too. Blowing a candle out sends a puff of smoke across the room and often blows soot onto the wax surface and the inside of the glass. It also bends the wick, which then burns off centre next time. A candle snuffer, or a lid placed gently over the flame, puts the candle out without smoke and without disturbing the wick. If you do not have a snuffer, a small metal lid or a saucer works. Cupping your hand near the flame is not a safe substitute.
While the wax is still liquid after you put the candle out, that is the moment to re-centre the wick if it has drifted, and to check the melt pool is level. Once the wax sets, the wick stays where it is until the next burn, so a few seconds of attention at this point saves an uneven burn next time.
Storage That Protects Fragrance
A candle loses scent between burns if it is stored badly, and the loss is permanent. Fragrance evaporates from the surface wax, sunlight fades the colour and weakens the scent, warmth softens the wax, and dust settles into the surface and burns dirty next time.
The storage rules are short. Store the candle cool, dry, upright and with the lid on. A cupboard or a drawer in a cool room is ideal. The lid, or a dust cover if the candle did not come with one, keeps dust out and keeps fragrance in. Upright matters because a candle stored on its side can let oil seep to one side of the wax, which makes the next burn uneven.
Keep candles out of direct sunlight, away from radiators and warm windowsills, and away from damp rooms. A bathroom windowsill looks like a natural home for a candle, and it is one of the worst: sunlight through the glass fades and weakens it, steam dampens the wick and the surface, and the warm, humid air speeds up fragrance loss. The same goes for a sunny kitchen windowsill. A cool, dark cupboard is a far better home, even if it is less convenient.
Storage also matters for how a candle smells when you do light it. A candle that has been stored with its lid on in a cool place will give a stronger cold throw, the scent you notice before you light it, and a stronger hot throw once the melt pool forms. A candle stored open in a warm room will smell faint from the start, and no amount of careful burning will bring back fragrance that has already evaporated.
If you rotate candles by season, which many people do with autumn and winter scents, store the ones you are not using with their lids on in a cool cupboard, and give the surface a quick wipe with a dry cloth before the first burn of the season. They will keep their scent for months if they are stored this way, and they will be ready to burn properly when their season comes round again.
Knowing When to Stop: The Last Centimetre
Every candle has a point where it should be retired, and it comes sooner than most people expect. Stop burning when about 10mm, roughly half an inch, of wax remains at the bottom of the container. Do not try to burn the last of it.
The last centimetre of wax is not useful wax. There is not enough of it to form a proper melt pool, so the flame burns directly against the bottom of the glass, which overheats it. A glass container can crack, a metal tin can become hot enough to damage the surface underneath, and the wick can flare. The candle will also smoke more and smell less in its final burns, because the fragrance has largely burned away with the wax above it.
Retiring a candle at 10mm feels wasteful, but it is the opposite. The wax below that point would not have burned cleanly anyway, and a cracked container or a scorched surface costs far more than the last centimetre of wax was worth. If you want to use the last of a candle, the safe way is to melt the remaining wax in a wax warmer, if you have one, or to scoop it out once cool and use it in a wax melt burner designed for that purpose. Never burn a candle down to the bare glass.
The same 10mm rule is the point at which to think about what comes next. If the candle was one you loved, keep the container if it is good glass: wash it out with hot soapy water once the last wax is gone, and it will take a refill candle or a new candle of the same size. If the candle was one that disappointed you, the care routine above is worth trying on its replacement before you decide the brand was the problem.
Candle Care by Wax Type
The routine above works for every candle, but the wax makes a small difference to how forgiving a candle is and how long it lasts in the first place.
Soy wax burns more slowly than paraffin and has a lower melting point, which means it forms a wide melt pool more easily and is more forgiving of a slightly short first burn. It is also the wax most likely to show a bumpy or uneven top after cooling, which is normal for soy and does not affect how it burns. Soy candles benefit most from the full first burn, because a wide melt pool is what gives soy its scent throw.
Paraffin wax holds fragrance strongly and throws scent well, but it burns faster than soy and is more likely to soot if the wick is left long. The wick trim matters most with paraffin, and so does the four-hour limit, because paraffin overheats more quickly in a long burn. Paraffin is also the wax most likely to tunnel badly from short burns, because its melt pool is narrower.
Beeswax has a higher melting point and burns longer than either soy or paraffin, which is part of why beeswax candles cost more. It needs a full first burn just as much as any other wax, and sometimes more, because the higher melting point means the melt pool takes longer to reach the edges. Give a beeswax candle its full first burn time and do not rush it.
None of this changes the routine. First burn to the edges, trim the wick to 5mm, burn for two to four hours, keep the melt pool clean, store it lidded and cool, and stop at the last centimetre. The wax type only explains why two candles treated the same way can still last different lengths of time, and why a cheap paraffin candle burned badly will disappear faster than a soy candle burned well.
The Care Routine, All in One Place
Here is the whole routine as a checklist to keep near the candle. It takes about a minute per burn.
- First burn only: let the whole surface melt to the edges, roughly one hour per inch of diameter, and never more than four hours in one session.
- Before every burn: trim the wick to about 5mm and remove any debris from the surface.
- During the burn: keep the candle away from draughts, fans, open windows and vents, which make the flame flicker, burn unevenly and soot. Keep it on a stable, heatproof surface, out of reach of children and pets, and never leave it burning unattended.
- Burn for two to four hours: long enough for a full melt pool, short enough that the wax does not overheat. Put it out with a snuffer or a lid, not by blowing.
- After the burn: while the wax is still liquid, re-centre the wick if it has drifted. Let the wax cool completely before moving the candle or relighting it.
- Between burns: store the candle cool, dry and upright, with the lid on, away from sunlight and radiators.
- At the end of its life: stop burning when about 10mm of wax remains.
Follow those seven steps and the candle will last as long as its maker intended, which is usually far longer than a candle treated carelessly. The difference is not small: a candle burned in short sessions with an untrimmed wick can lose a third of its wax to tunnelling and burn through the rest far faster than it should, while the same candle burned with a full melt pool and a trimmed wick will burn evenly to the last centimetre.
What Went Wrong? A Quick Fix Guide
If a candle is already misbehaving, the care routine above will stop it getting worse, but it will not always fix what has already happened. This is the short version of what to do next.
It has tunnelled. A longer burn may level a shallow tunnel, and the foil tent method can help a deeper one. Our guide to candle tunnelling works through the fix ladder by severity, from a long burn to a heat gun, and explains when a candle cannot be saved.
It smells weak. Give it a full two to four hour burn so the melt pool forms properly, and check the room is not too large for the candle. A candle that smells of nothing in a large living room may be the right candle in the wrong room. Storage matters here too: a candle stored open in sunlight may simply have lost its scent, and no burn will bring it back.
It smokes or soots. Trim the wick to 5mm before the next burn, move the candle out of any draught, and keep sessions to four hours or less. Soot on the glass can be wiped off with a dry cloth once the candle is cool, and soot on the wall behind it is a sign the candle has been burning in a draught with a long wick for some time.
The flame is huge or flickers wildly. Put the candle out safely, let it cool, trim the wick right back to 5mm, and check for a draught. A flame that is tall and unsteady is burning wax far faster than it should, and it is the clearest sign the wick needs attention.
The wax is uneven, high on one side. The wick has drifted, or the candle is on a surface that is not level. Re-centre the wick while the wax is liquid, and move the candle to a flat surface. A candle burned on a slope will always melt unevenly.
Frequently Asked Questions
How long should the first burn of a scented candle be?
Long enough for the whole surface to melt to the edges, which is roughly one hour for every inch of the candle’s diameter. A two-inch candle needs about two hours, a three-inch candle about three hours, and a wide four-inch candle up to four hours. Never burn for longer than four hours in a single session, even on the first burn.
Should I trim a candle wick before every burn?
Yes. Trim it to about 5mm, roughly a quarter of an inch, before every burn. A long wick burns hotter, faster and dirtier, and it is the main cause of soot and mushrooming. Trim when the wax is cold, before you light the candle.
How long should I burn a scented candle each time?
Two to four hours is the right window. Less than an hour does not form a full melt pool and feeds tunnelling. More than four hours overheats the wax and the glass, increases soot and weakens the scent. Put the candle out with a snuffer or a lid after four hours at the most.
Why does my scented candle burn out so fast?
Usually because of short burns, a long untrimmed wick, or long sessions. Short burns cause tunnelling, which wastes wax. A long wick burns hotter and faster. Sessions over four hours overheat the wax. Fixing those three habits is usually enough to add weeks to a candle’s life.
Does putting a candle in the freezer make it last longer?
Freezing a candle is not part of a good care routine. It can crack the container, make the wax contract away from the glass, and damage the wick. A candle kept cool in a cupboard, with its lid on, keeps its scent without any need for the freezer.
When should I stop burning a candle?
Stop when about 10mm, roughly half an inch, of wax remains. Burning the last of the wax overheats the glass, risks cracking it, and gives very little scent for the risk. Let the remaining wax cool, and retire the candle.
Do reed diffusers last longer than candles?
They last differently, not simply longer. A diffuser scents a room continuously for weeks or months with no burn time to manage, while a candle gives a stronger scent for a few hours at a time. Our guide to how long do reed diffusers last sets out the lifespan ranges by bottle size, and many homes use both: a diffuser for the background scent and a candle for the evening.
Where should I keep a candle when I am not burning it?
Cool, dry and upright, with the lid on, away from sunlight and radiators. A cupboard or a drawer is ideal. Avoid sunny windowsills and warm, humid bathrooms, where the scent fades and the wax softens between burns. Our guide to where to place a reed diffuser covers the same draught and sunlight rules for diffusers, which share the same enemies.
Care Is What Makes a Candle Worth Its Price
A scented candle is not expensive because of the wax. It is expensive because of the fragrance, and the care routine in this guide is really about protecting that fragrance: a full first burn so the melt pool reaches the scented wax at the edges, a trimmed wick so the flame burns the wax at the right rate, a session long enough for the scent to fill the room and short enough that the wax never overheats, and storage that keeps the fragrance in the wax between burns.
None of it is difficult, and none of it costs anything. The first burn takes one evening of patience. The wick trim takes a few seconds. The four-hour limit takes a glance at the clock. And the reward is a candle that burns evenly, smells as strong on its last burn as on its first, and lasts weeks longer than the same candle burned carelessly. That is the difference between a candle that feels like money well spent and one that feels like it vanished.